
Build a clear, intentional mix.
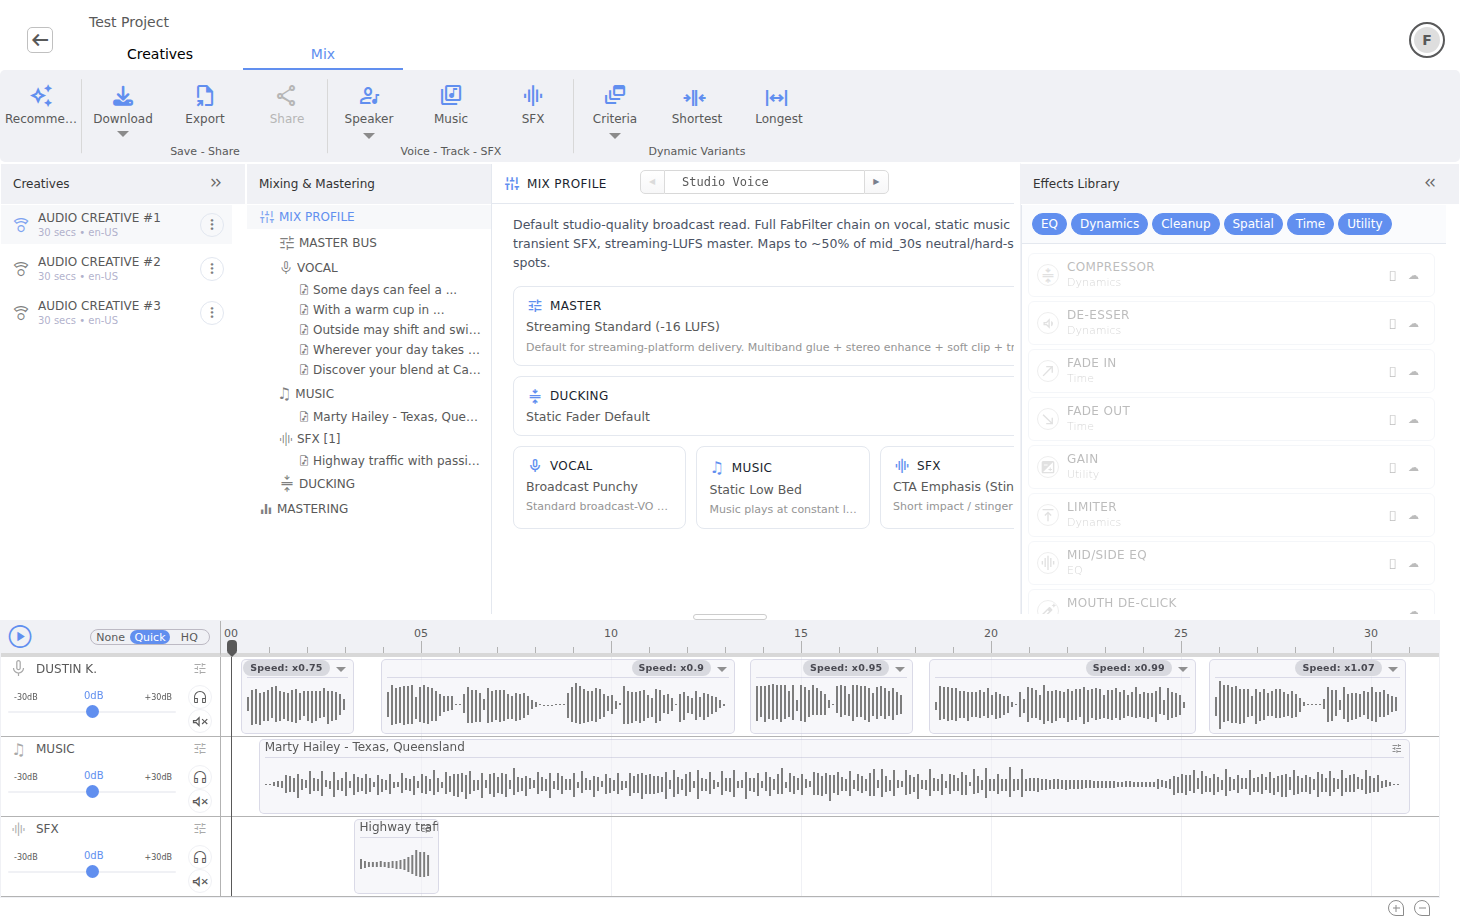
The Mix tab organizes processing from individual clips to lanes, ducking, the master bus, and mastering. Start with a profile, solve broad balance at lane level, then use clip effects only for exceptions.
The processing hierarchy
- ClipCorrect one vocal, music, or SFX event.
- LaneShape all clips of one type consistently.
- DuckingMove background around speech.
- Master busApply mix-wide processing.
- MasteringSet final loudness and reference.
- RenderCreate the production-quality output.
The Mix tree exposes Mix Profile, Master Bus, Vocal, Music, SFX, Ducking, and Mastering. Expand a lane to reach its clips and effects.
Start with a Mix Profile
A Mix Profile chooses a coherent production direction for the whole creative. Select the closest intent before adding manual effects, for example a studio-forward voice treatment or an ambient/wellness balance.
- Play the unprocessed arrangement.
- Choose a Mix Profile.
- Preview the whole creative.
- Keep it if it improves hierarchy without hiding detail.
- Continue with lane presets.
Use lane presets
Vocal, Music, and SFX lanes can each receive a purpose-built effect chain. A new preset replaces that lane's previous chain, so note intentional manual changes before switching.
- Vocal — choose clarity and character appropriate to the speaker.
- Music — control density, tone, and space under dialogue.
- SFX — manage impact, ambience, or emotional-bed behavior.
Add clip effects for exceptions
The effects library can place processing directly on a selected clip. Use this for a single recording that differs from the lane, not as a substitute for good lane balance.
- Correct clip gain before reaching for a complex chain.
- Keep processing order intentional.
- Bypass an effect to compare rather than deleting it immediately.
- Check that legacy or imported projects resolve their effect names correctly.
Control the Master Bus
The Master Bus receives the combined lanes. Apply a master preset when it matches the output use, then bypass individual effects to understand their contribution. Avoid solving a vocal-only problem on the entire bus.
Ducking
Ducking lowers background elements around speech according to a curve or preset. It improves intelligibility while preserving musical movement.
- Choose a gentle starting curve.
- Listen to vocal entries and exits.
- Adjust the profile if the bed pumps or recovers too slowly.
- Use an account preset only when its intended behavior is understood.
- Confirm the result in HQ preview.
Preview modes
| Mode | What it represents | Use it for |
|---|---|---|
| None | Raw mix with only essential playback operations such as basic gain and fades. | Comparing the arrangement before production processing. |
| Quick | A live browser preview of the supported effect subset. | Fast iteration on balance and supported effects; not final ducking/mastering proof. |
| HQ | A server-rendered WAV using the current clip, lane, ducking, bus, loudness, and reference configuration. | Approval before download or publish. |
A practical mix pass
- Approve edit and timing in Creatives.
- Select one Mix Profile.
- Set the Vocal lane first.
- Fit Music around speech.
- Place SFX and control peaks.
- Tune ducking.
- Review Master Bus and mastering.
- Render an HQ preview and compare with None.